Your Guide to Wet Flake Application
Share
How to Apply 'Wet' Metal Flake
Metal flake can be applied wet (mixed in clearcoat/intercoat) or dry (sprayed over tacky clear coat). We are going to outline our general guidelines to apply wet metal flake in this article. If you have questions about a dry application, please check out our previous post on dry flaking. These steps are to get you started, please test your spray set-up before starting your final project.
Spraying Wet Flake
- Prep the body work.
- Prime/seal.
- Spray your basecoat.
- When using metal flake, choose a base color to either match or complement your metal flake.
- Dark colors are great when you want full sparkle coverage with the flake, as it makes it easier to spot any missed areas.
- Light colors add a bit of shine beneath the flake, giving a visually appealing look of depth.
- Matching colors are when you want the basecoat to show through, with the flake adding an extra sparkle on top.
- Seal the basecoat with a coat of intercoat/binder.
- This should match your wet flake carrier in the next steps.
- The clear intercoat/binder will seal off the basecoat as a safety layer between the metal flake and the basecoat.
- I do this, just in case I screw up with the metal flake and have to sand it down for corrections.
- Mix the metal flake.
- It's a custom paint job; there are no right or wrong answers.
- At Flake or Die, we recommend a starting point of 1 package (2 oz of flake) to 1 quart of reduced, ready-to-spray intercoat/binder.
- If you're making a blend, you can pre-blend and then mix with your carrier in your desired ratio.
- Or increase your ready-to-spray carrier volume (2 packages/2 quarts, etc.) and mix 1 package of each size/color to the increased carrier volume.
- Setting up your metal flake sprayer.
- You’ll need a spray gun with a minimum 1.5 to 1.8 mm tip (usually a primer gun will be in that range).
- If you are using a resin or gel coat carrier, increase your tip size to 2.2 - 2.5 mm.
- Make sure the cup on the spray gun does not have any filters in it (this will clog the gun instantly).
- Do not use a strainer when pouring your metal flake mix into the gun.
- Test air pressure and spray patterns before applying to your final piece.
- On my guns, I usually run about 25 psi. That will change depending on your setup.
- Now that you’re set up, it's time to spray.
- Spraying metal flake is pretty much like any other type of paint.
- Use a smooth side-to-side motion. Move fairly quickly to avoid sags and runs, and overlap by about 50%.
- After your first coat, let it flash according to your intercoat/binder instructions.
- Reapply until you get the effect you’re looking for. It usually takes me at least 2 coats to look the way I want it.
- Bury your flake.
- Cover all the flake in a good 2k clearcoat. Flake is bumpy, so you’ll need to spray at least 3 coats, if not more.
- This can be done with anywhere between a 1.3 to 1.5 tip on your gun.
- Clean up.
- Protect your tips/sprayers and prolong their use by keeping them clean.
- Cure your paint.
- After all of this, let it all sit to cure for about a week. Ugh!
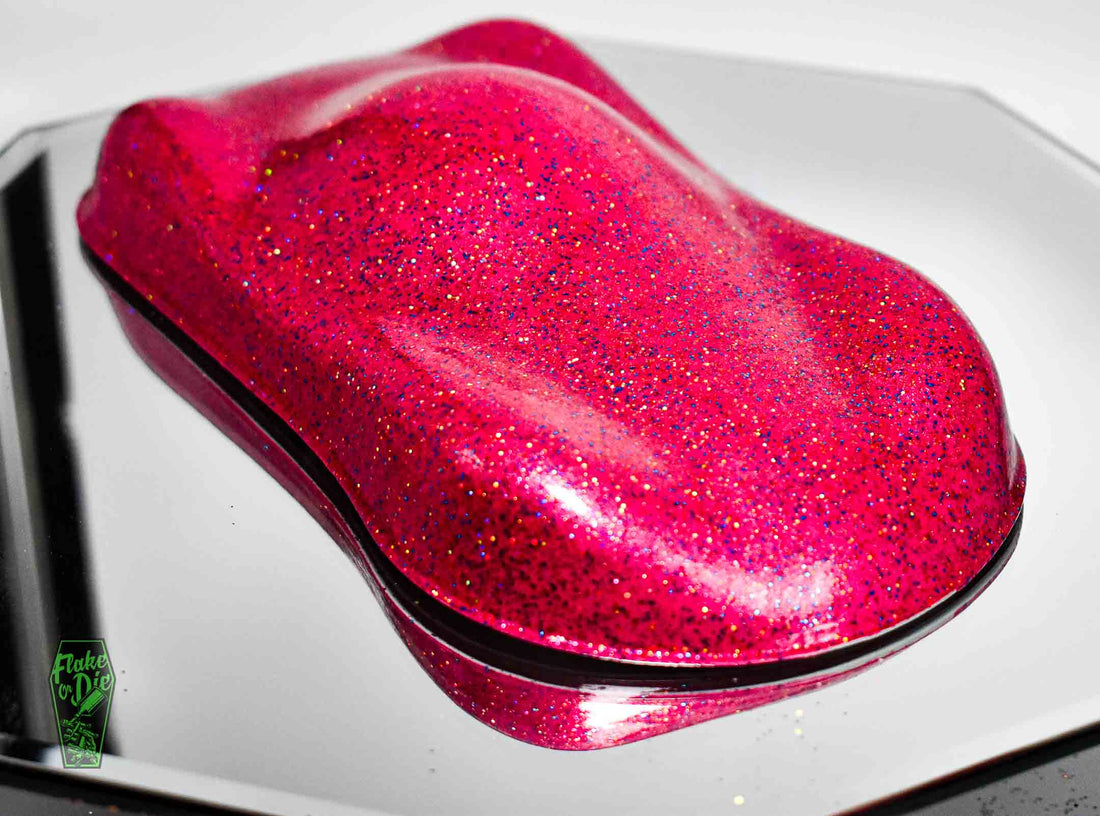
- Once your paint is thoroughly cured, cut and buff to a high shine!
If everything went right, you should have a brand new metal flake paint job!