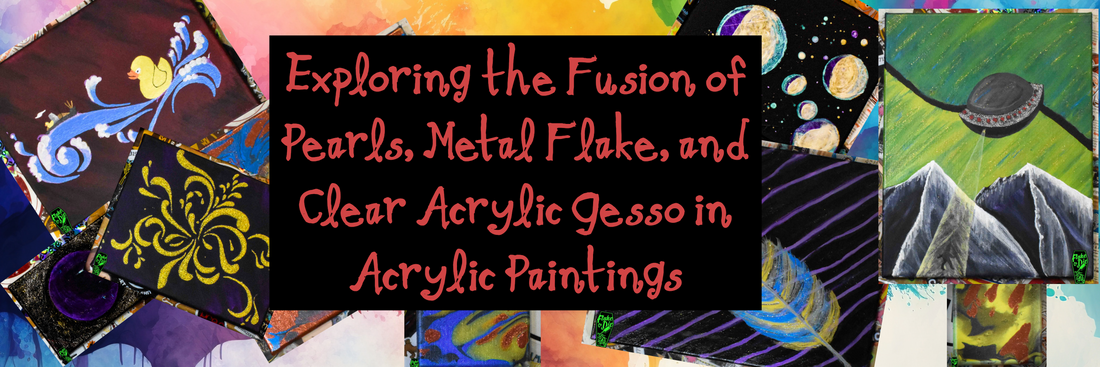
Pearls, Metal Flake, and Clear Acrylic Gesso
Exploring the Fusion of Pearls, Metal Flake, and Clear Acrylic Gesso in Acrylic Paintings
Acrylic painting serves as a versatile medium for artistic expression. The prospect of elevating creations to a new level of brilliance introduces a captivating combination: clear gesso combined with the transformative magic of pearl pigments and metal flakes. This combination empowers artists to tailor their paint mixtures, resulting in alluring light and texture effects that can shine through various painting styles and techniques.
Let's explore the realm of mixed media art, where creativity knows no bounds. In this article, we unveil the magic behind a few captivating paintings that enhance traditional acrylic techniques with shimmering effects.
The Symphony of Colors in Fluid Motion
Splash into the expressive world of fluid painting as we explore the first showpiece. This painting, born from a unique paint pour technique, showcases the dynamic interplay of black pearl, blue pearl, yellow pearl, and chunky red pearl pigments, which brings the colors to life with a molten luster.

Unleash your creativity with paint pours using clear gesso mixed with metallic pearl pigments. Use all pearl pigments or choose one dominant color with pearl luster, while keeping the other colors flat. This technique allows the viewer's eye to be drawn to the highlighted color, creating a stunning visual effect that captivates and intrigues.
Acrylic paint pouring is a mesmerizing technique that involves pouring fluid acrylics onto a canvas to create unique and unpredictable patterns. Below is a brief guide on how to perform an acrylic paint pour.
Materials Needed:
- Canvas: Choose a canvas of your preferred size. Ensure it's level and placed on a protected surface.
- Acrylic Paints: Select a variety of colors that complement each other. These should be fluid acrylics or mixed with pouring medium for optimal flow.
- Pouring Medium: Mix your acrylic paint with a pouring medium to achieve the right consistency for pouring. The pouring medium helps to maintain the paint's vibrant colors and ensures smooth pouring.
- Cups and Stir Sticks: Use disposable cups to mix your paint and pouring medium. Stir sticks will help achieve a consistent blend.
- Palette Knife or Spatula: Useful for pouring the paint onto the canvas.
- Drop Cloth or Plastic Sheeting: Protect your workspace from paint splatter.
Steps:
1. Prepare the Workspace:
- Lay down a drop cloth or plastic sheeting to protect your working surface.
- Place your canvas on a level surface.
2. Mix the Paints:
- In individual cups, mix each color of acrylic paint with the pouring medium. Aim for a runny consistency.
3. Layer the Paints:
- Begin layering the different colors of paint in one cup or multiple cups, creating a vibrant and visually interesting combination.
4. Pour onto the Canvas:
- Flip the cup(s) onto the canvas and lift them, allowing the paint to flow and create unique patterns. You can also use a palette knife or spatula to pour the paint onto the canvas.
5. Tilt the Canvas:
- Gently tilt the canvas in different directions to encourage the paint to cover the entire surface. This creates beautiful marbling effects.
6. Create Cells (Optional):
- To enhance the visual appeal, you can use a heat source like a torch or a heat gun to create cells in the paint, revealing intricate patterns.
7. Let it Dry:
- Once you're satisfied with the composition, leave the painting to dry on a level surface. Drying times may vary depending on the thickness of the paint.
8. Seal the Painting (Optional):
- After the painting is completely dry, you may choose to seal it with a clear varnish or resin to protect and enhance the finished piece.
Experiment with different color combinations, pouring techniques, and canvas sizes to discover your unique acrylic pour style. Infuse a more dynamic light play by incorporating pearl pigments or small metal flakes into your pours. It's a captivating process that allows for a great deal of artistic freedom and expression.
A Quirky Rubber Duck in Abstract Ocean Waves
Immerse yourself in the whimsical narrative of a rubber duck navigating abstract ocean waves. The ducks were painted with yellow and orange pearl pigments mixed into clear gesso. Discover the technique behind the swooping curves of abstract waves, painted with blue pearl pigments and layered highlights of white pearl and purple ghost pearl for cresting mists with shimmering effects.

Transform finished pieces by layering pearl pigments or metal flakes over specific areas. Enliven a serene lake or river with a lustrous blue pearl pigment or add a coat of white pearl pigment to a snowy field. Enhance the drama of a lava flow with red pearl pigment, making the light dance with the flow. This layering technique adds flare and dimension to your paintings, making them truly unforgettable.
Layering is a technique in acrylic painting that involves building up multiple layers of paint to create depth, richness, and complexity in your artwork. Below is a brief guide on how to perform acrylic paint layering.
Materials Needed:
- Canvas: Choose a canvas of your preferred size and ensure it's primed and ready for paint.
- Acrylic Paints: Select a range of colors that complement each other and suit your artistic vision.
- Brushes: Have a variety of brushes in different sizes and shapes to apply layers with precision.
- Palette: Use a palette to mix and blend your paint colors.
Steps:
1. Plan Your Composition:
-
Decide on the subject of your painting and plan how you want to layer the colors to achieve the desired effect.
2. Base Layer:
-
Start with a base layer of acrylic paint. This can be a background color or the foundational layer for your artwork. Allow it to dry completely before moving on to the next layer.
3. Select Colors for Layering:
-
Choose colors that will enhance and build upon the base layer. Consider factors such as color harmony and contrast.
4. Mixing Paints:
-
Mix your chosen colors on the palette, adjusting tones and shades as needed. You can also mix in a medium to extend drying time or enhance transparency, depending on your desired effect.
5. Apply Second Layer:
-
Use a brush to apply the second layer of paint onto the dry base layer. Be intentional with your brushstrokes and consider the direction and texture you want to achieve.
6. Allow Drying Time:
-
Let each layer dry completely before adding the next one. This ensures that the colors don't mix unintentionally, and it allows you to build up the composition gradually.
7. Repeat the Process:
-
Continue adding layers, allowing each one to dry, until you achieve the desired depth and complexity in your painting. Experiment with different colors, opacities, and techniques to create visual interest.
8. Fine-Tune and Detail:
-
Once the primary layers are established, you can fine-tune details and add additional layers for specific highlights, shadows, or focal points.
9. Seal or Varnish (Optional):
-
Once your painting is complete and all layers are dry, you may choose to seal it with a clear varnish to protect the layers and enhance the vibrancy of the colors.
Acrylic paint layering offers artists a versatile approach to creating intricate and visually engaging artworks. Make your final layers pop with a reflective addition of pearls or flakes. Experiment with different colors, layering techniques, and brushwork to develop your unique style and bring depth to your paintings.
Unveiling the Elegance of Gold Filigree
Discover elegance in the simplicity of gold filigree in the third showpiece. Here, 0.004" gold metal flake meets clear acrylic paint, creating a luxurious blend that forms intricate and fascinating curving shapes. Delve into the artistic process that transforms metal flake into a refined tool for abstract expression.

Throughout this article, we unveiled the secrets behind each painting but explored the broader spectrum of mixed media art. Thanks for joining us to learn about abstract acrylic painting techniques, acrylic paint additives, and the artistic sparkle achieved by combining metal flake or pearl pigments with a clear medium. Enhance your creative toolkit with these insights into fluid painting, shimmer effects, and unique applications of flake and pearl in acrylic.